At the wine cellar, handing over some footage I shot for one of his projects.
My Problems Are Like So Important
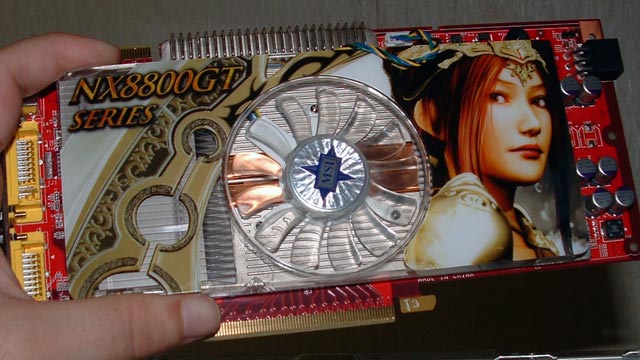
Don’t ask me why it was there, but I found this photo on an old memory card on my desk. I wish I hadn’t, ‘cos now I’m reminded just how fucking ridiculous my video card looks. That’s a princess wearing golden armor, right? I’m just glad I don’t usually have to see the hideous thing. It’ll be tough going forgetting the garish thing is in there.
If I made video cards they’d be available in either of two colours, yellow with a white racing stripe, or black with a red racing stripe. Any model name or number would be black on black or yellow on yellow. No sad faced pouty princesses with red painted lips and stupid bloody armor, that’s for sure.
I could probably be convinced into releasing a yearly special edition. Just 20 cards, and only available on my birthday. All completely covered – back, front, and sides – with hundreds and thousands of tiny little pictures of tits.
Impossible is the opposite of possible.
Spicy Dal
Ingredients
- 1 & 1/4 cups red lentils. (Brown lentils are a fine substitute, or yellow split peas if you must, but green lentils won’t soften properly.)
- 3 & 1/3 cups water.
- 1 & 1/2 tsp salt.
- 3 tbs butter.
- 1 tsp ground cumin.
- 1 tsp ground turmeric.
- 1/2 tsp ground cinnamon.
- 1/4 tsp cayenne.
- 1/4 tsp ground ginger.
- 1/4 tsp ground coriander.
- 1/2 tsp mustard seeds.
- 6 whole cloves.
Method
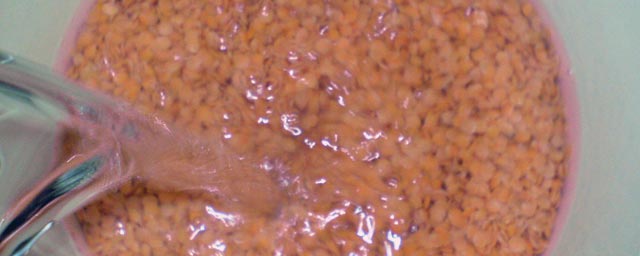
Rinse the lentils well in cold water. Drain and repeat once or twice. The first time through you’ll note that the water gets quite milky, you want to wash them until the water is fairly clear.
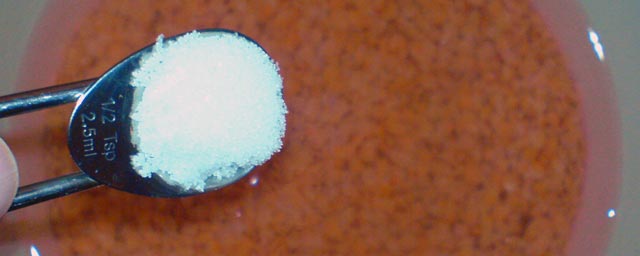
Add to pot with 3 & 1/3rd cups water and the salt.
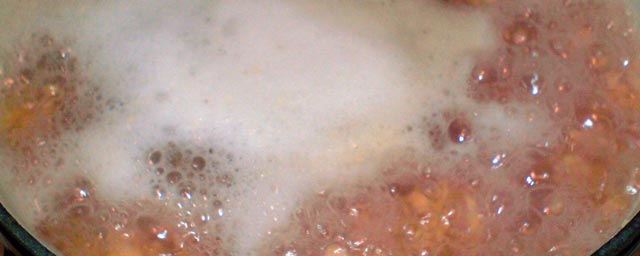
Boil until very soft, the water will be mostly or entirely absorbed.
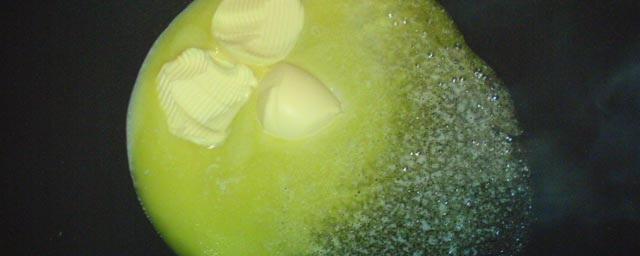
Once the lentils are bubbling away and well on their way to cooking down, melt the butter in a separate pan.
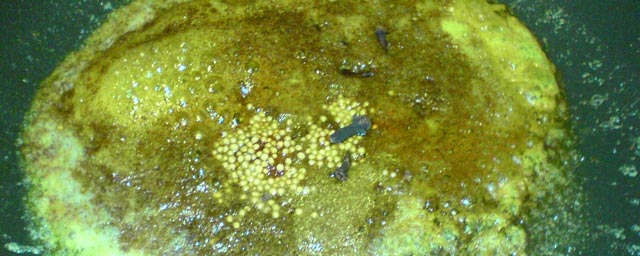
Add the spices. Your house will start to smell reallllllly good. (Don’t be mad, I’m not saying it doesn’t now, just that it’ll get even better.)
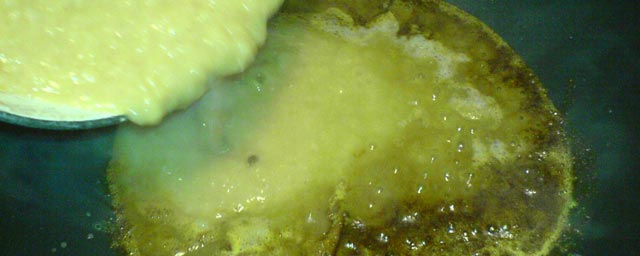
Once the lentils are all cooked down (note how much the colour of the red lentils has changed), carefully add them to the spices & butter.
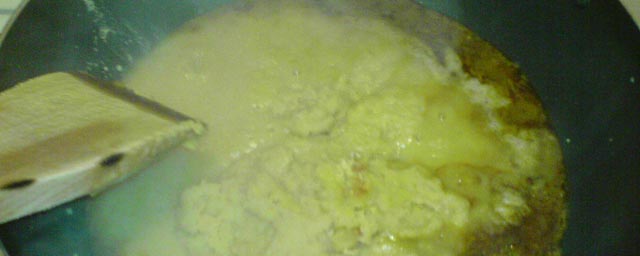
Mix the butter & spices well with the lentils.
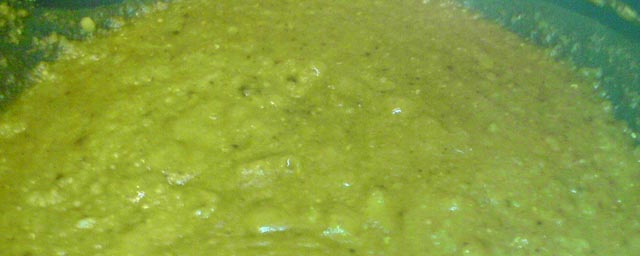
Cook until very thick, stirring frequently.
Serve with rice (I suggest basmati) and a big dollop of yoghurt. This dal can be a bit hot for some people, the yoghurt goes a long way to defusing that – and it’s really delicious, so why wouldn’t you?
I find it a very warming, comforting dish. Particularly great on cold winter nights.
Most Delicious Cornbread
Ingredients
- 1 cup cornflour
- 2 eggs
- 1/4 cup oil (I use olive oil)
- 1 & 1/2 tsp salt
- 2 tbs baking powder
- 1 cup sour cream
- 2 cups grated cheese
- 1 cup (or so) capsicum, sliced (I use roasted red peppers)
- chillies (optional, to taste)
- 1 can of corn kernels, drained
Method
Preheat oven to 180°C.
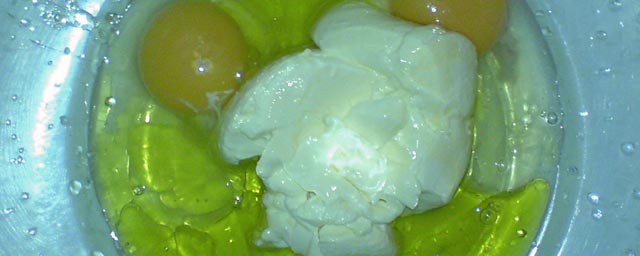
Add eggs, oil, & sour cream to mixing bowl.
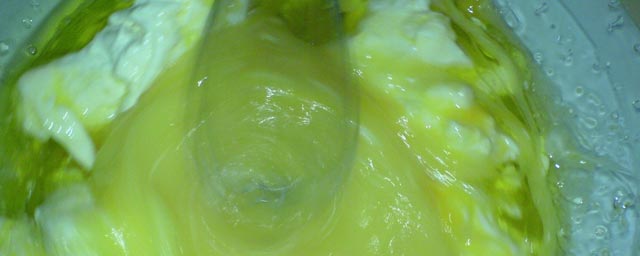
Blend until smooth.
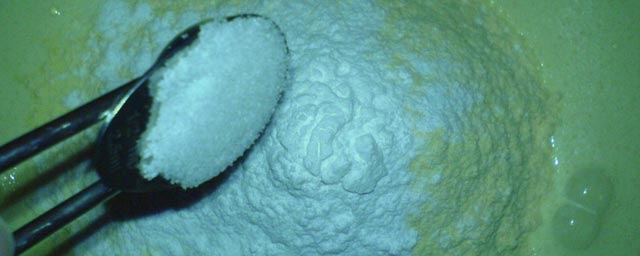
Add corn flour, baking powder, & salt.
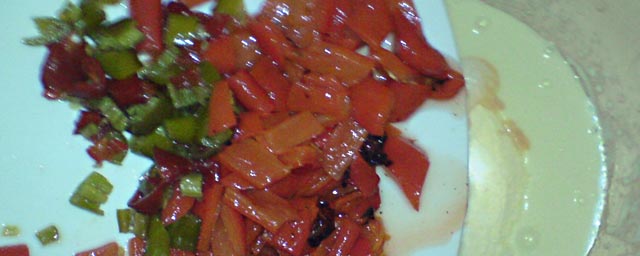
Add sliced capsicum (and optional chillies).
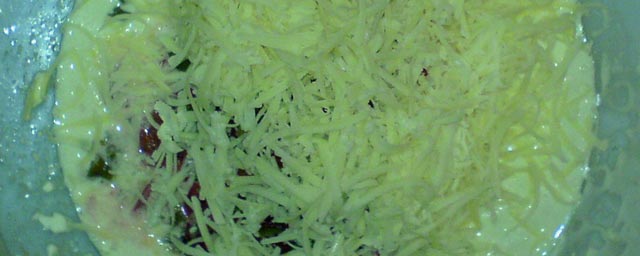
Add most of the grated cheese (save a little).
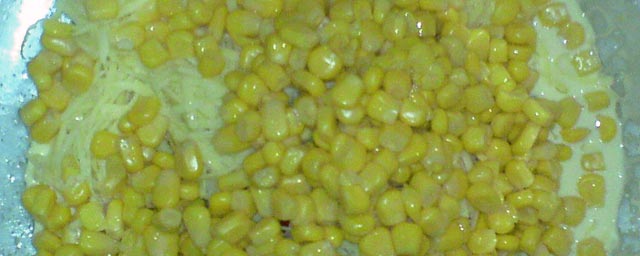
Add drained corn kernels.
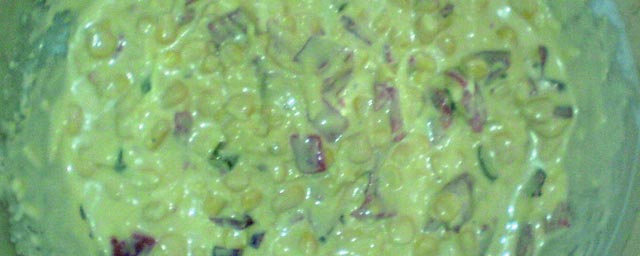
Mix up well.
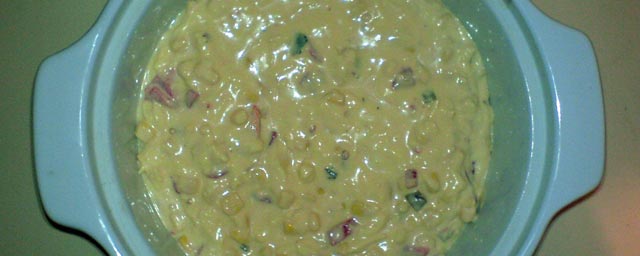
Add to cake tin or baking dish.
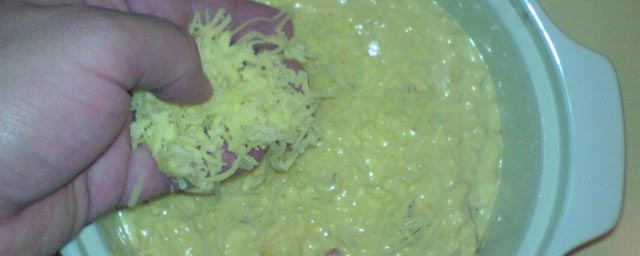
Sprinkle on remaining cheese.
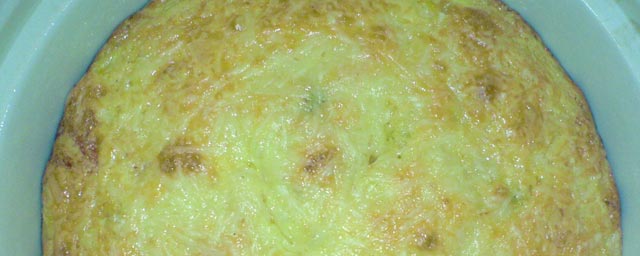
Bake at 180°C until the top is golden brown and a skewer or sharp knife inserted into the middle comes out clean. In this dish it’s about 45 minutes, in a wider diameter & thin walled baking tin it’d be more like 30.
The corn bread will be very moist and flavourful.
Making another short…
For use as part of the 48hours Auckland finals. We shot 5 locations in about 4 hours – though depending on how you count, this could actually be as many as 9. We went totally guerilla with very quick setup, and much more of a shoot & scoot approach than we usually do with our regular 48hours production team (which suits me, I like to figure stuff out in advance, and shoot quickly – we didn’t do the sorting out, so we weren’t that quick, but still far quicker than the team’s normal approach).
Including shooting, with permission, in a city convenience store – for which I had to pay the steep price of $4. (It was either drop $4 for a can of V or the guy was going to kick us out, man really was not delighted when we turned up with a camera.)
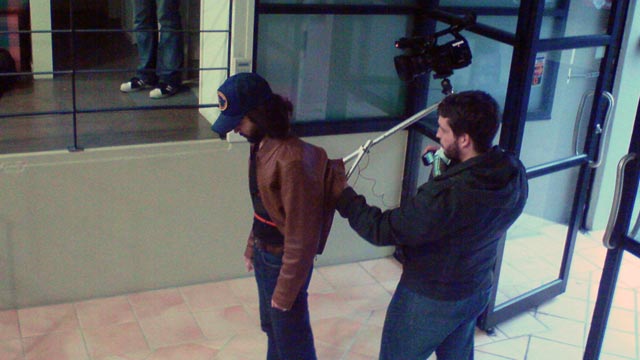
Andrew wearing a snorricam rig on set – have only checked footage on the camera LCD, but it looks great so far.

So what’s the short about? Well, here’s a hint in the form of our Apee (our award for winning 48hours Auckland in 2008) at one of our locations.
Oh, and just by the way, I die horribly at the end of a sword.
It’s really stupid, and hopefully going to be a lot of fun for those few who are lucky enough to see it.
Trailer for our 48Hours short film competition entrant
[flv:https://morganavery.nz/wp-content/uploads/2009/05/all_s_fair_trailer2.flv 640 360]
Don’t worry, there are no spoilers.
Update: Please note that – just as with the short itself -Â I did not edit this trailer. (If only!)
Townhall Lightshow
Surely everyone in Auckland has seen these – and half of them took their own photos – but I happened past the townhall lightshow before it was packed up, and here it is. Bit annoying that it takes a horrid corporate to bring this kind of thing to Auckland – I only wish that our city fathers had enough of a love of art (and good public things) to try things like this just because they make a place feel good. But Telecom it had to be.

Lollyshop townhall. Impossibly delicious, and definitely my favourite.
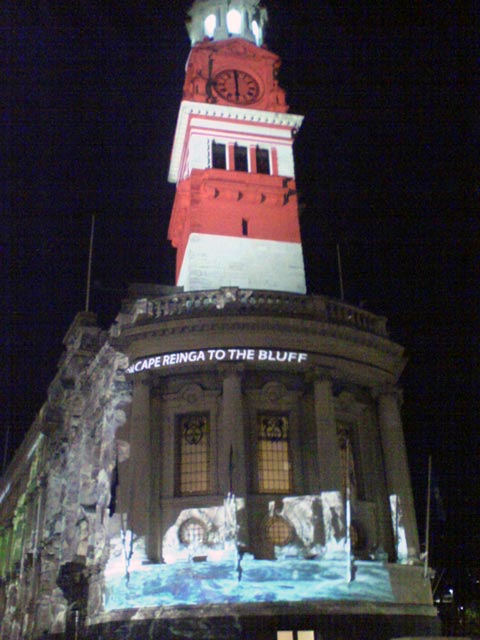
Townhall lighthouse. Nicely animated, with the waves visible at the base lapping and splashing against the columns, and bright pulsing light in the belvedere.
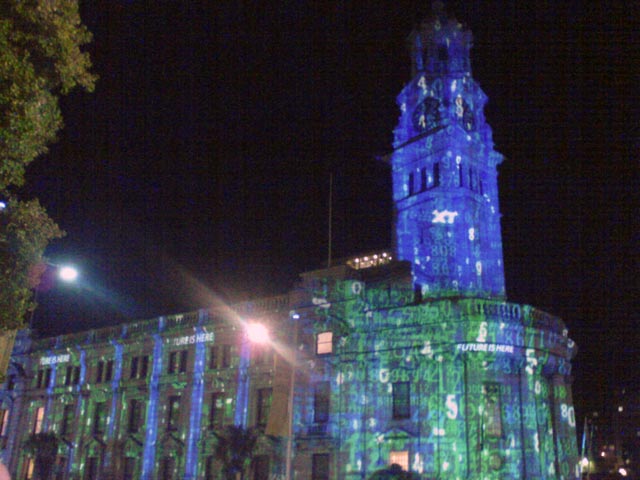
Most people in my group called it ‘the Matrix one’ – which is of course right. But for some reason I thought of it as the Wall Street one. It seemed so very financial – being all jumbled numbers in columns, unlike the Matrix animatic which was all undecipherable pictograms. Nice colours.

I don’t know what this represents, but feel like it must have something to do with Christchurch, the messed up perspective bit on the clocktower makes me think of the square in the art centre. Don’t ask why. I couldn’t tell you. It’ll turn out to be something incredibly bleeding obvious. (Feel free to tell me what I missed.)
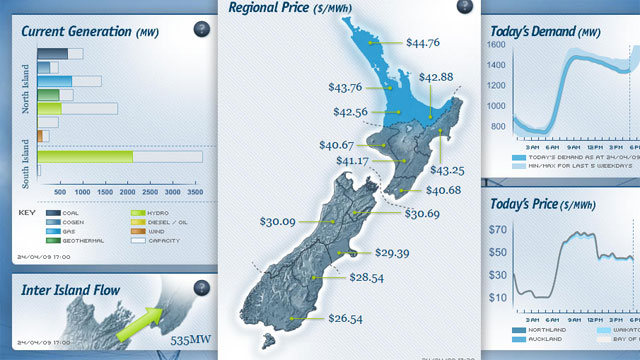
Electricity generation & demand site.
You’ve got to check out this brilliant website for Energy Market at em6live.co.nz, it shows the current usage & capacity of various energy sources around New Zealand as well as graphs of recent & current network load in different regions, even the current energy flow between islands.
Really fascinating stuff, and so well presented.
Love it.
Can’t help but wonder why so much gas is being burned when the hydro capacity appears to be so far underused, though. Hopefully it’s just that the lakes are being topped up and will be tapped more when winter heating drives more load in the coming months, or something along those lines.
(Or possibly it’s that running the hydro at full capacity the lakes would look like the plug had been pulled out, but I’m not sure if it means “capacity while maintaining current/safe lake levels” or if it means “maximum possible generation”.)
Would be great to see something similar for internet bandwidth. Beautiful graphs of which protocols generate most usage at varying times of day, and who is using what around the country, as well as an overall international flow.
Pear & Vanilla Crumble
Ingredients
- 3 tins of quartered pears in juice. (You can use fresh pears if you wish, but you’re giving yourself a lot more work for little reward.)
- 250g raw sugar.
- 225g self raising flour.
- 175g butter.
- ~6-8 teaspoons vanilla extract. (This might seem a lot, but it’s quite a large dish.)
Method
While the oven warms up, take a large caserole dish…
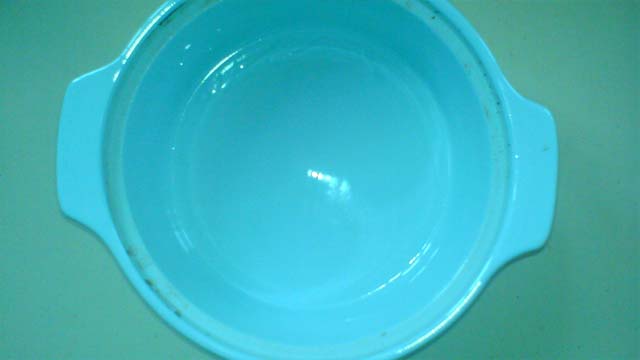
… Add drained quartered pears – save the juice. (You can slice them further if you wish, these pears were fairly small though.)

Add about 1 cup of the juice back over the pears. (This might seem round about, but if you used all the juice you’d end up with a terribly soggy mess.)
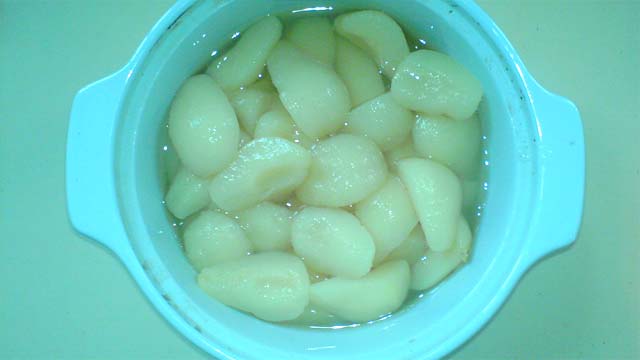
Spoon about 150g of the raw sugar over the mixture.
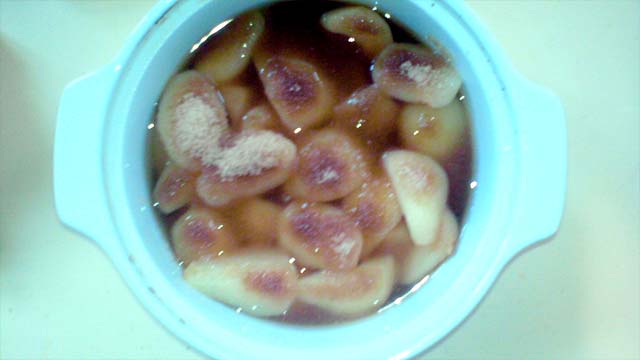
Drizzle vanilla extract over the pears – the specks you can see here are vanilla seeds.Â
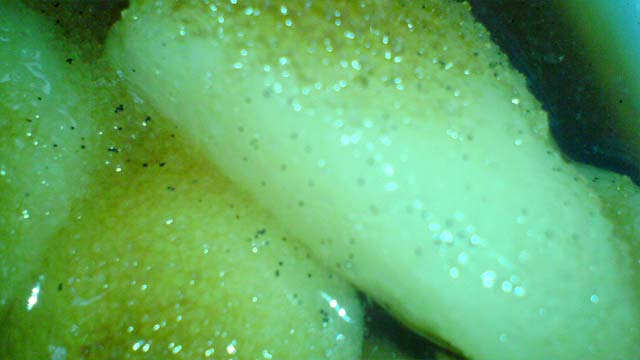
LET’S GET READY TO CRUUUUMMMMMMMMMMMBBBBBLLLLEEEEEEEEE.
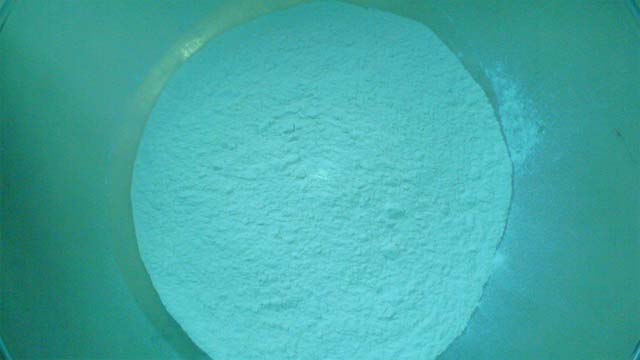
Add the flour into a large mixing bowl.
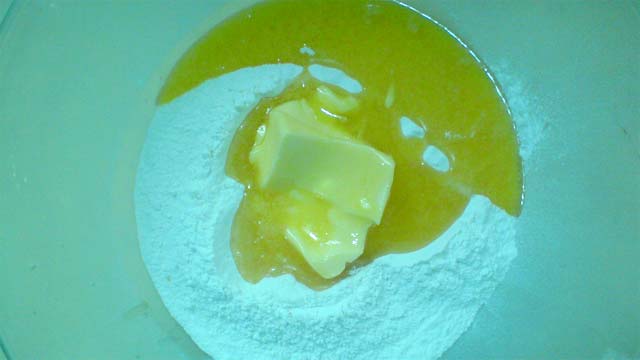
Make a divot in the flour, then add the soft (microwave softened if you’re lazy like me) butter.
Add the remainder of the sugar.
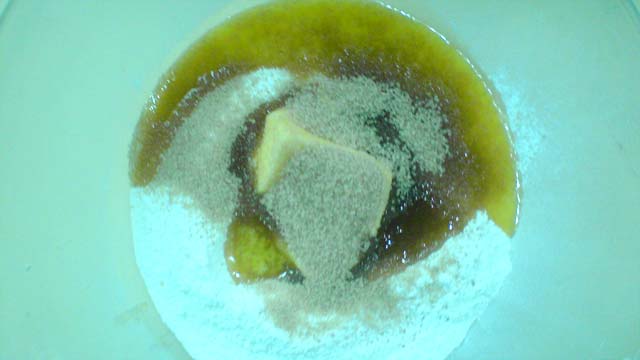
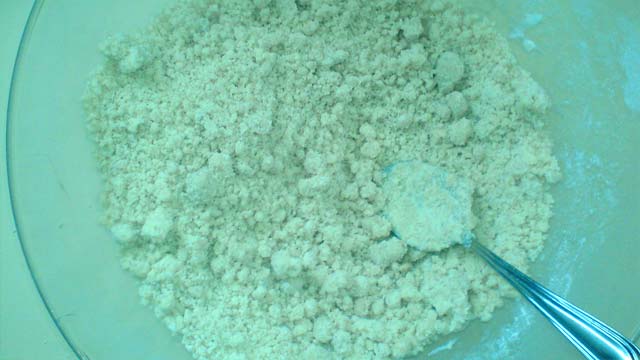
Crumble the mixture. It’s fun to do it with your hands – and I think you end up with a better, slightly more dense, crumble – but it’s also possible to do it with a spoon if you don’t feel like getting your hands coated in this delicious mixture.
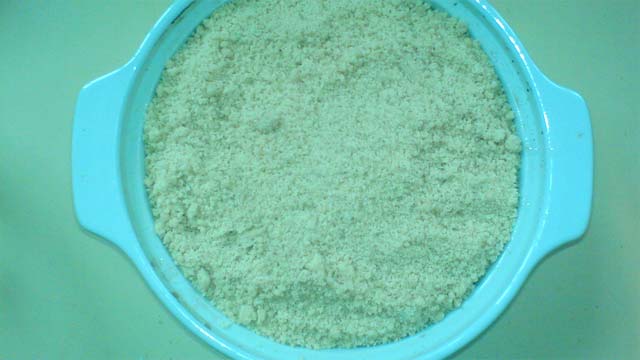
Carefully distribute the crumble over the top of the pear mixture.

Until it’s nicely covered. You can press it down a little, but it should be a fairly loose covering. It will be quite a thick layer.
Bake until the crumble is golden brown, and some of the juice has bubbled up around the edges and caramelised. This will take at least 45 minutes. But the longer you can leave it beyond that – just as long as the crumble doesn’t burn – the better the result will be, this one was cooked for about 60 minutes, and I only took it out of the oven because I had to take it to dinner with friends.
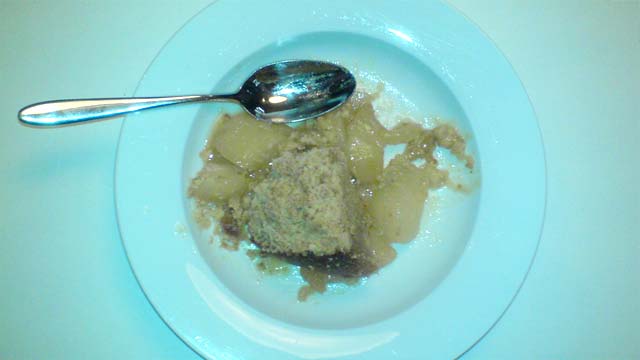
The crumble will end up tasting something like shortbread, and the fruit, juice, & sugar will cook together into a wonderful peary caramel.
It’s that delicious fruity caramel that requires the longer cooking time, it takes quite a while for the mixture to heat up and start to cook through – the longer you give the sugars in the fruit & juice the more they’ll change into caramel. The best result I’ve had was after about 80 minutes of baking, and I assure you that it was worth the wait – unfortunately there’s seldom time to cook for that long.
It’s optional, but preferable, to serve it with custard – and perhaps even a little scoop of nice French vanilla ice cream as well.
Serves 10 lovely people, who will happily gobble it all up.
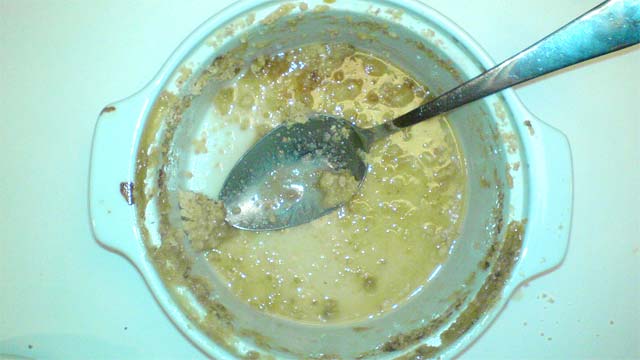
Enjoy.

